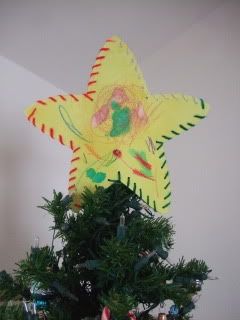
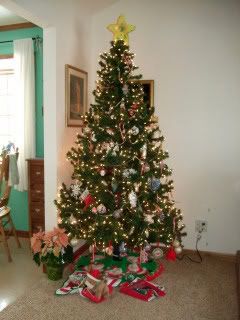
Our Tree Star
Look how beautiful. You can make one too!
Here's everything you need. Well, all this stuff and an enthusiastic artist.
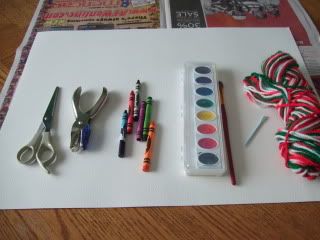
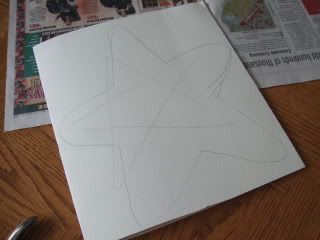
For the paper, you want something fairly heavy, like poster board or cover stock. We are actually using gelatin sized heavy weight watercolor paper, but that's only because we had it on hand. (I once had a job where they paid me overtime in art supplies - woot!) Anyway, fold the paper in half and then draw a star, cut it out. I sketched a few bad stars, then just kind of cut it out anyway. I'll turn the paper so the pencil marks are on the inside.
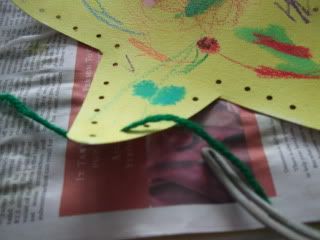
Once your star is cut to your liking, punch holes around the edge with the hole punch. This is a small punch, but a standard sized one works fine too.

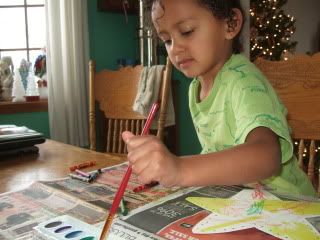
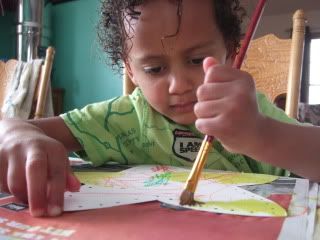
I commissioned a budding artist to do the actual art. She used crayons and watercolors, and finished with variegated yarn. I paid her in snacks - a banana, a graham cracker and some juice. That's the nice thing about budding artists - they really will work for food.
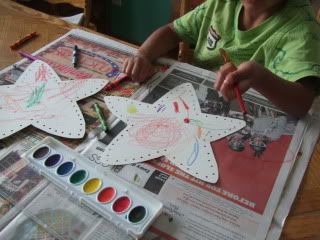
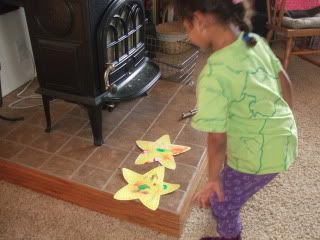
Then, she put the paper by the fire to dry.
(A hair dryer will speed things along too!)
Time for assembly.
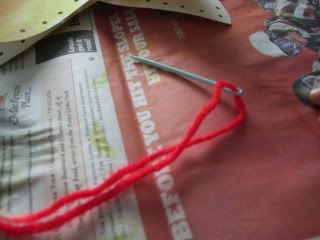
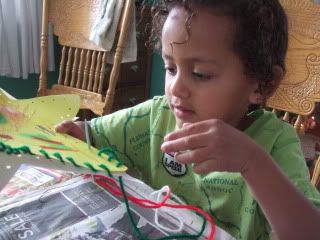
First, I was 'teaching her how to sew', and I just stitched along one star, along two of the edges. This will be the bottom of the star, and by stitching just one, it will leave an opening. When we come all the way around the star, we'll stitch the back side by itself. (If that doesn't make sense, check out one of the upcoming photos.)
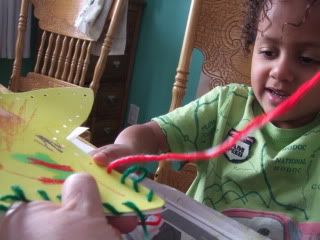
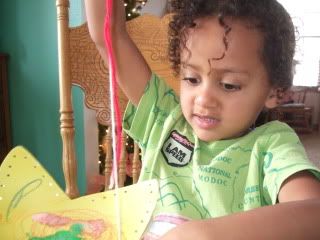
I stayed nearby, to help with knots, re-threading the needle, etc., but she did most of the actual stitching.
(Don't you just love that expression?)
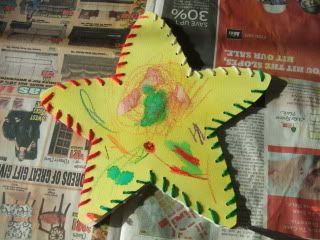
When we had gone all the way around to the starting point, we stitched the back side, then tied everything off, and taped the ends to prevent fraying (tape? did someone say tape? woot!). Here it is - our Christmas Tree star!
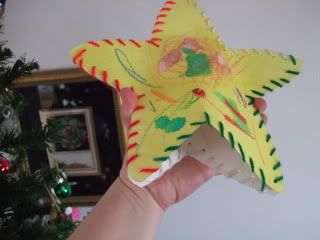
Here, I'm sort of 'pinching' the sides together - see how the bottom is not stitched together? All the other sides are stitched together, but this opening will allow us to slip it onto the tree.
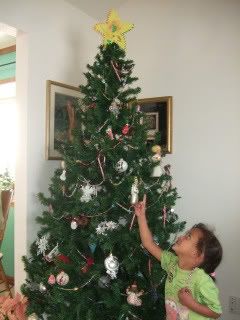
Just like that!
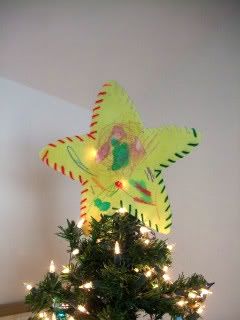
Beautiful job, Little Bit! It's the best Christmas Tree Star I've ever seen!
Psst...while she was having fun, she was learning about completing steps to finish a project, developing her creativity and self-expression, increasing her ability to focus and improving her fine motor skills. Hooray, little one!

Here's everything you need. Well, all this stuff and an enthusiastic artist.

For the paper, you want something fairly heavy, like poster board or cover stock. We are actually using gelatin sized heavy weight watercolor paper, but that's only because we had it on hand. (I once had a job where they paid me overtime in art supplies - woot!) Anyway, fold the paper in half and then draw a star, cut it out. I sketched a few bad stars, then just kind of cut it out anyway. I'll turn the paper so the pencil marks are on the inside.

Once your star is cut to your liking, punch holes around the edge with the hole punch. This is a small punch, but a standard sized one works fine too.

I commissioned a budding artist to do the actual art. She used crayons and watercolors, and finished with variegated yarn. I paid her in snacks - a banana, a graham cracker and some juice. That's the nice thing about budding artists - they really will work for food.


Then, she put the paper by the fire to dry.

(A hair dryer will speed things along too!)
Time for assembly.

First, I was 'teaching her how to sew', and I just stitched along one star, along two of the edges. This will be the bottom of the star, and by stitching just one, it will leave an opening. When we come all the way around the star, we'll stitch the back side by itself. (If that doesn't make sense, check out one of the upcoming photos.)

I stayed nearby, to help with knots, re-threading the needle, etc., but she did most of the actual stitching.


(Don't you just love that expression?)
When we had gone all the way around to the starting point, we stitched the back side, then tied everything off, and taped the ends to prevent fraying (tape? did someone say tape? woot!). Here it is - our Christmas Tree star!

Here, I'm sort of 'pinching' the sides together - see how the bottom is not stitched together? All the other sides are stitched together, but this opening will allow us to slip it onto the tree.

Just like that!


Beautiful job, Little Bit! It's the best Christmas Tree Star I've ever seen!
Psst...while she was having fun, she was learning about completing steps to finish a project, developing her creativity and self-expression, increasing her ability to focus and improving her fine motor skills. Hooray, little one!

Comments
Georgia
Hugs, GG
Gill in Canada
You sure are learning a lot. I already knew you could color and paint, but learning to use a needle and thread can really lead to a lot of useful fun.
Great Aunt Laura is here and I'm going to show her this blog. She will really be happy, for she has been sewing for many years.
Love you a lot,
Granny Ladybug
(Next, I think we'll teach her how to change her own oil. Just kidding!)
I'm glad you liked the bubble wrap advent calendar idea.
I hope you have a wonderful day and weekend to come! :)
I miss you too, M - hugs back!