Crafting: Money Holders
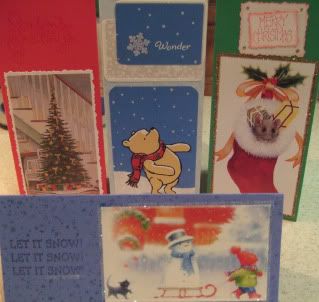
Pre-teens and teenagers are really hard to buy for, aren't they? Even harder when they live far away and you don't get play-by-play of what thing-of-the-moment has their eye. We decided that this year, we would make the nephews in our life really happy and give them the gift of cash.
We decided not to do gift cards because they limit the recipient to a certain store. The Visa ones charge extra, plus, do we really want to teach young kids to use something that looks and acts a lot like a credit card?
We have so many pretty Christmas cards from last year. I am going to use some of them to make ornaments and wall plaques, but a few of them seemed just right for decorating money holders or money cards. Plus, it makes me feel like I did something other than just put $ in an envelope, you know?
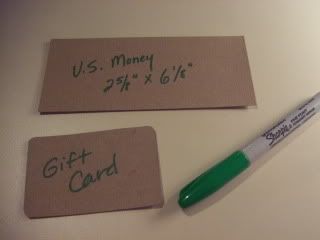
If you are giving a gift card instead of cash or a check, you could easily adjust the size of the holder to accommodate the card. The first thing I did was measure a dollar and make a template. Just for fun, I made a gift card template too. I used the cardboard from an old Wheat Thins box - score one point for eco-girl!
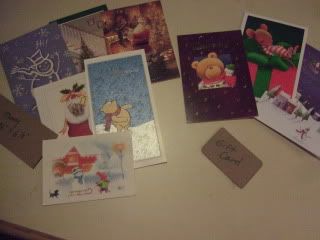
Next I picked out some cards. That helped me get a little more inspired, plus it helped me decide what colors of card stock to use.
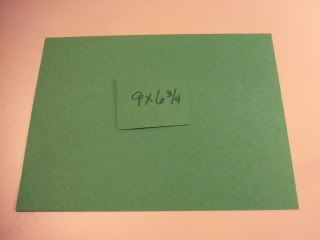
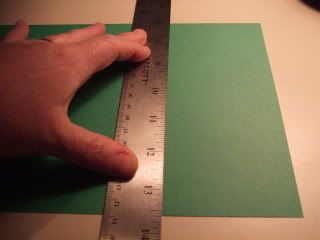
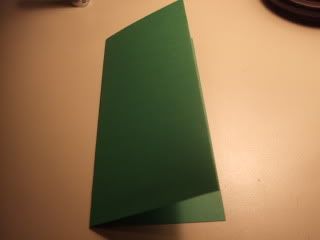
I'll need three panels to make the money holder. I measured and cut the card stock until it was 9x6.75 inches. Then I make little pencil marks to divide it into 3 inch even sections and folded along those marks. The ruler helped me get a nice straight fold.
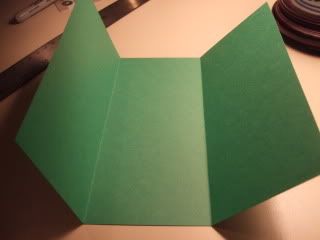
Next I made a diagonal line on the far left panel of the card stock. I cut the top piece away, almost all the way to the fold, but not quite. I wanted a little to fold over so the front of the card will look neat.
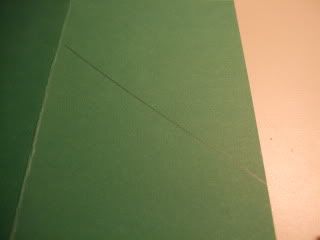
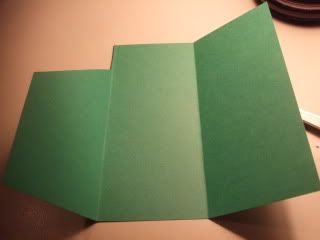
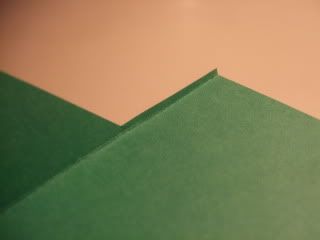
Then, a little glue along that tiny bit at the top and along the bottom. I'm leaving the side un-glued, so the money can slide in easily. When the card is closed, it will hold money in place just fine.
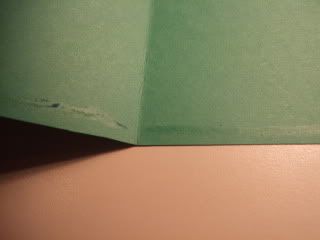
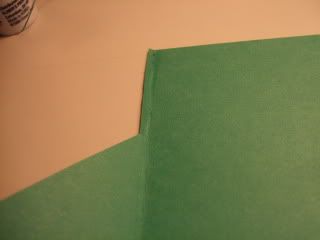
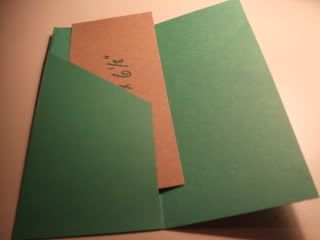
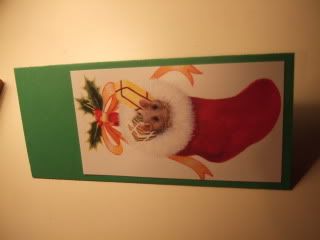
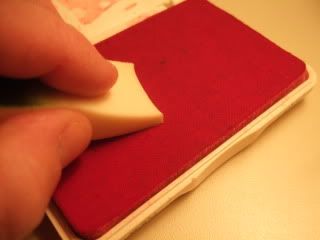
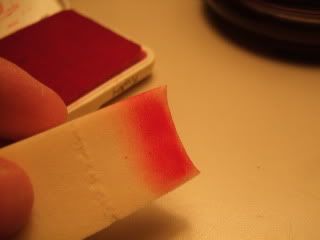
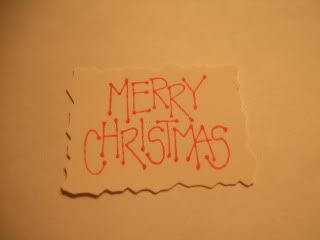
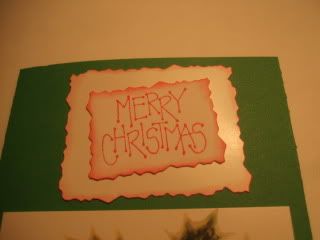
Next I trimmed the card to size and used double-stick tape to attach it to the front. I used a scrap of the card to stamp 'Merry Christmas' too. I cut the edge with decorative scissors, used a sponge to give that edge some color and taped it in place above the picture.
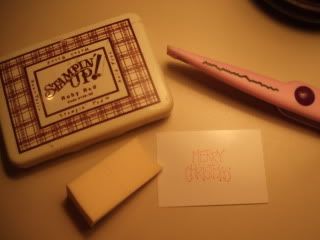
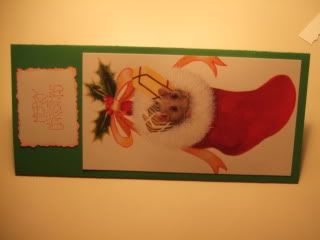
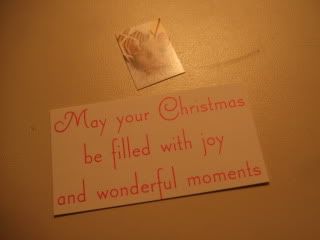
Then I cut out the sentiment and a wee mousie picture from inside to use for the inside of the money holder/card. Cute cute! (and easy easy!)
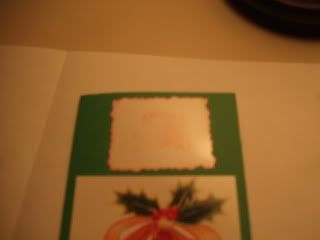
While I was doing that, I smeared the 'Merry Christmas' on the front of the card. That paper was glossy, and even though I had tried to set the ink with the heat gun, it still smeared....already stuck to the card. This, dear reader, is why layering is a wonderful thing. I simply stamped 'Merry Christmas' on a piece of (non-glossy) card stock, trimeed the edges, colored the edges, and put it over the first piece. Almost like I knew what I was doing!
Time for glitter! This stuff is super-fine, pretty messy, but with the right tools, not too bad. The best tool is a plain sheet of printer or copy paper, folded in half, then opened back up. Work on that sheet of paper.
I used a glue pen - they are wonderful for detail work. Just put down glue anywhere you want the glitter to stick.
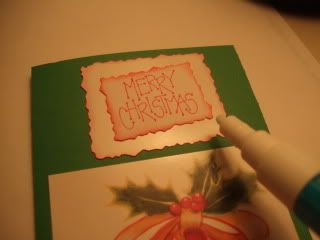
Next, sprinkle glitter over the glued areas. Put plenty.
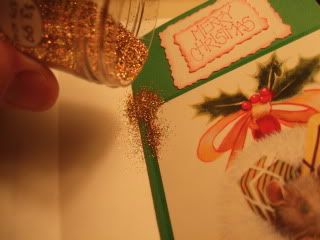
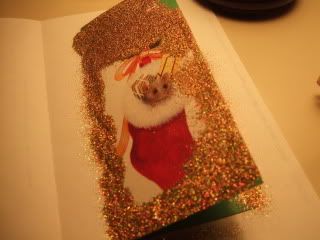
Then, just dump all the excess glitter right onto that piece of paper you're working on. Tap the card a few times to remove the excess. Bring up the sides of the paper and pour the glitter back into the container, tapping as you go. Works great!
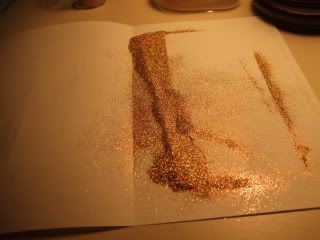
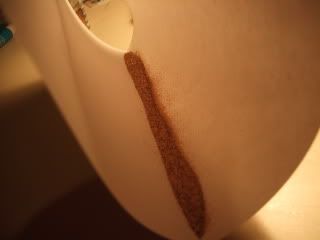
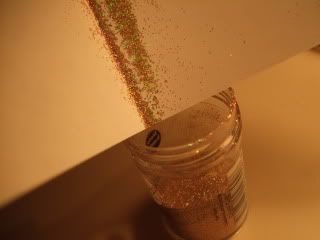
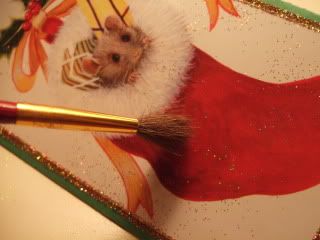
Use a dry brush to remove any stray glitter. If it's a dry environment, you get a little static cling, but the brush removed it nicely.
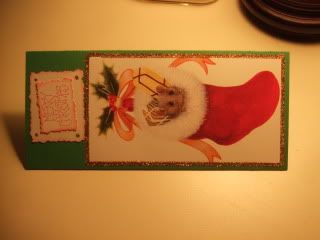
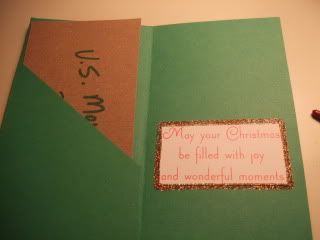
That's it! The glitter is, of course, optional, but fun and pretty. We only need two of these, but I made extras, just for fun.
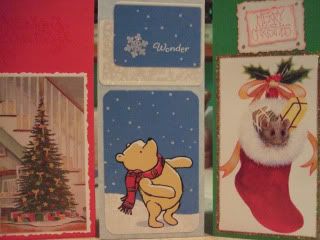
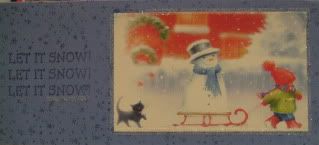
This would translate very easily to birthdays, Easter, graduation, any time! Now you have another way to use the fronts from all those pretty cards you've been saving!

Comments
Hugs, GG