Honey Harvest, Part 2
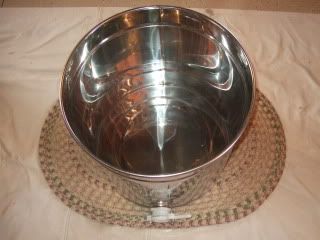
Time to assemble the extractor! First, you need a soft surface to set it on - an old rug or something - so it won't tear up the floor if it's unbalanced and begins to 'walk'. This is the bottom piece - the bottling tank. The honey drains through filters down into this tank, and it has a little opening on the side you can open to bottle the honey.
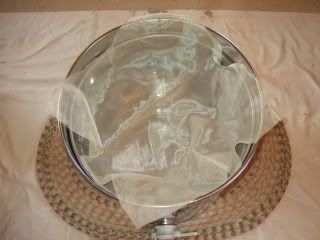
Next you put in a steel screen filter. It is not as fine as I like so I cover it with a fine cloth mesh.
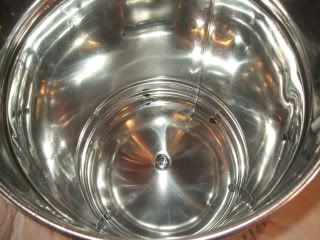
This is the extractor. See the holes around the edges at the bottom? The honey drains through those into the filter.
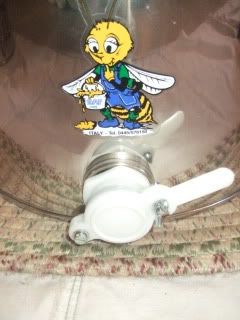
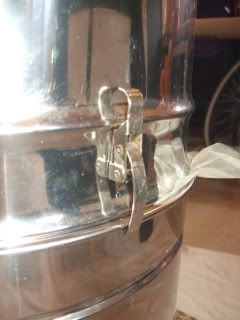
These fasteners hold everything together so nothing slips off while you're extracting.
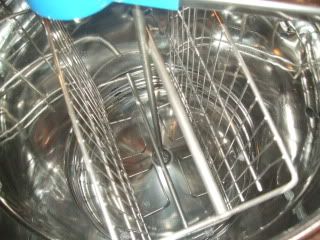
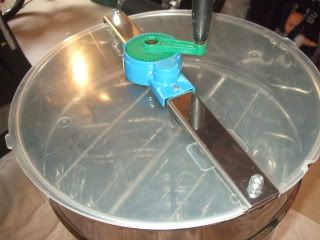
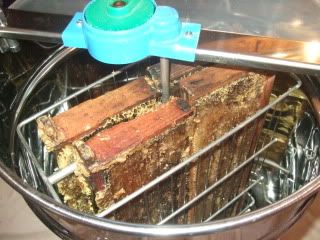
Next we install the baskets that hold the frames, then the top cross piece with the crank/gears, and finally, the plexiglass covers.
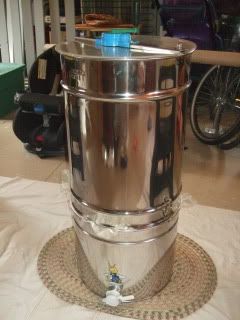
Voila'! The extractor is assembled and ready to go.
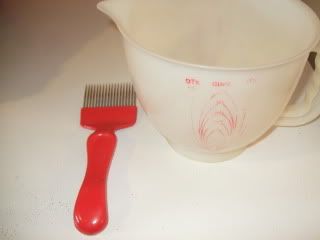
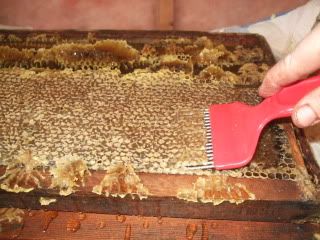
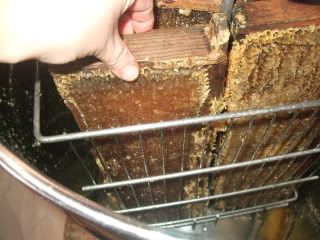
Next, we have to remove the cap wax from the honeycomb. This little tool with all the needles is made for that. Cap wax is some fine wax, so the bowl is for saving it. Once we get it rendered, we can use it for all sorts of things. All I have to do is go along just beneath the surface of the sealed honeycomb, then lift and remove the wax.
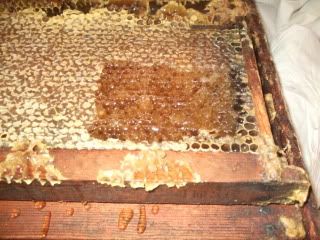
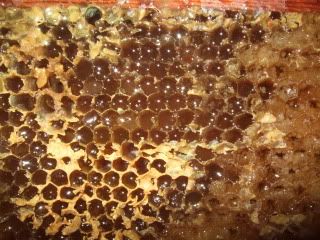
Once the wax is removed on one side, flip the frame over and remove the wax on the other side. Some of this honey - to the right in the next photo - is crystallized in the comb (not good). It won't really extract. The liquid honey looks awfully dark, too. I wonder if these frames have been on the hive for more than one season?
As we get the frames capped, we put them into the extractor, until it's full. Our extractor is a 4-frame.
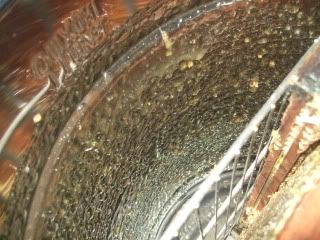
Then, turn the crank, and spin the frames. Centrifugal force extracts the honey from the comb. After the frames have been turning for a bit you can see honey collecting on the sides of the extractor. It will (eventually) run down through the filters and into the bottling tank.
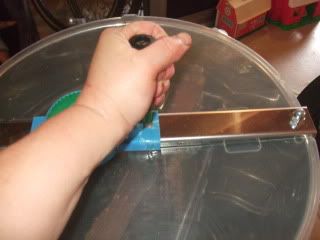
You turn to the right for a while, turn to the left for a while, then you have to flip the frames around and do it again. These frames were not easy to extract - the crystallized honey in some of them made things unbalanced. It took hubby and I quite a while to get the honey out. The extractor was really wobbly and difficult to control.
I left the honey to sit/drain for about 24 hours, then we started to bottle. The honey is really dark, and kind of murky. When I took the extractor apart, I learned that the fine mesh had slipped, so some of the honey was only filtered with the screen. Ugh. I'll have to re-filter it and see if it clears/lightens any. It may have fine crystals in it that are affecting the color and clarity - we'll have to see how it goes.
At any rate, it has good flavor. It can be used in cooking, no problem. Once I get it properly bottled, I'll post a photo. :)


Next you put in a steel screen filter. It is not as fine as I like so I cover it with a fine cloth mesh.

This is the extractor. See the holes around the edges at the bottom? The honey drains through those into the filter.

These fasteners hold everything together so nothing slips off while you're extracting.

Next we install the baskets that hold the frames, then the top cross piece with the crank/gears, and finally, the plexiglass covers.


Voila'! The extractor is assembled and ready to go.

Next, we have to remove the cap wax from the honeycomb. This little tool with all the needles is made for that. Cap wax is some fine wax, so the bowl is for saving it. Once we get it rendered, we can use it for all sorts of things. All I have to do is go along just beneath the surface of the sealed honeycomb, then lift and remove the wax.


Once the wax is removed on one side, flip the frame over and remove the wax on the other side. Some of this honey - to the right in the next photo - is crystallized in the comb (not good). It won't really extract. The liquid honey looks awfully dark, too. I wonder if these frames have been on the hive for more than one season?

As we get the frames capped, we put them into the extractor, until it's full. Our extractor is a 4-frame.

Then, turn the crank, and spin the frames. Centrifugal force extracts the honey from the comb. After the frames have been turning for a bit you can see honey collecting on the sides of the extractor. It will (eventually) run down through the filters and into the bottling tank.


You turn to the right for a while, turn to the left for a while, then you have to flip the frames around and do it again. These frames were not easy to extract - the crystallized honey in some of them made things unbalanced. It took hubby and I quite a while to get the honey out. The extractor was really wobbly and difficult to control.

I left the honey to sit/drain for about 24 hours, then we started to bottle. The honey is really dark, and kind of murky. When I took the extractor apart, I learned that the fine mesh had slipped, so some of the honey was only filtered with the screen. Ugh. I'll have to re-filter it and see if it clears/lightens any. It may have fine crystals in it that are affecting the color and clarity - we'll have to see how it goes.
At any rate, it has good flavor. It can be used in cooking, no problem. Once I get it properly bottled, I'll post a photo. :)

Comments
Stacey - squeee! I can't wait either! (then I get shy, then I get excited, then shy, excited...eep!)