Make your own Starter Pots!
Gardening is a great way to save money...as long as you don't buy every gadjet and gimmick on the market for gardeners! Some tools are really neat, and some are completely unnecessary. We have been making our own virtually free seed starter pots for a few years now. They are easy to make. You can even plant them right in the garden when your seedlings are ready!
You will need newspaper, a soup can, and a stapler.
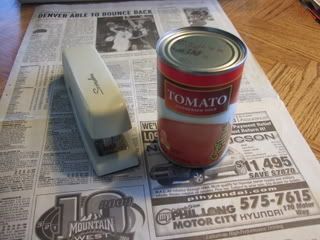
One single sheet of newspaper (one single page) works fine, or you can do a double sheet if you like. I prefer the single sheet because it's not as stiff. The first thing you do is fold the sheet in thirds (the long way). I always look for newspaper pages that don't have color ink. If there is color ink, I make it so it's away from the soil and roots - on the inside of all the folds. Fold once...

Then again.
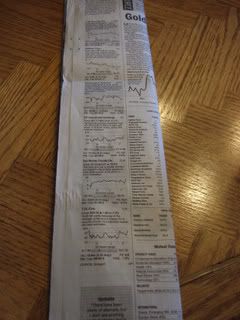
Next, roll the long strip of newspaper around the soup can, like this.
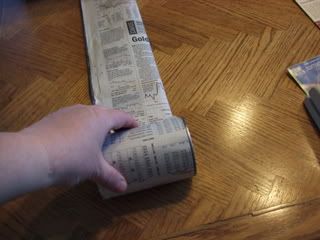
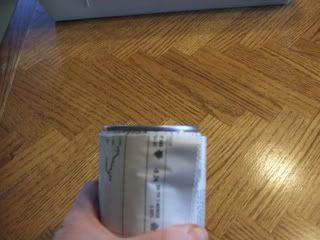
Push the soup can up so that you can make a bottom on your paper pot. Usually, about the time you can see the name of the soup, you're at the right place.
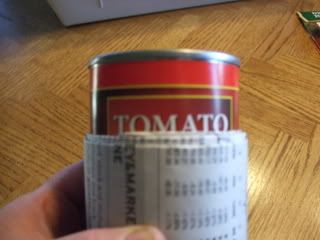
Flip it over and fold down the 'flaps'. You make the flaps as you go...and they won't stay down. Not to worry, we'll fix that in a moment.
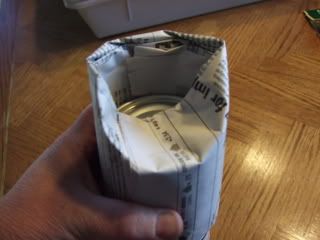
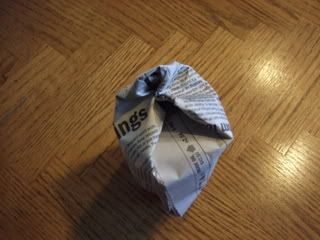
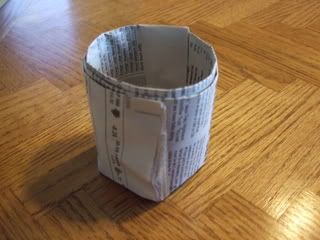
Slip the can out of the paper pot. At this point I staple the end of the paper on the side of the pot near the top. Then, gently push on the flaps on the bottom, until they are a bit inverted.
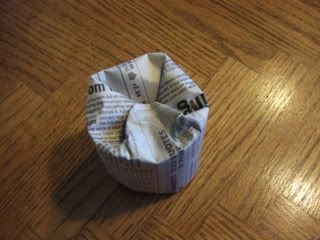
There you go! A paper pot!
Next time I'll show you how we use them. Stay tuned, and thanks for reading!
2010 Update: I tried one of those cute little wooden paper pot-makers...and blogged about it here, if you're interested.
You will need newspaper, a soup can, and a stapler.

One single sheet of newspaper (one single page) works fine, or you can do a double sheet if you like. I prefer the single sheet because it's not as stiff. The first thing you do is fold the sheet in thirds (the long way). I always look for newspaper pages that don't have color ink. If there is color ink, I make it so it's away from the soil and roots - on the inside of all the folds. Fold once...

Then again.

Next, roll the long strip of newspaper around the soup can, like this.


Push the soup can up so that you can make a bottom on your paper pot. Usually, about the time you can see the name of the soup, you're at the right place.

Flip it over and fold down the 'flaps'. You make the flaps as you go...and they won't stay down. Not to worry, we'll fix that in a moment.


Slip the can out of the paper pot. At this point I staple the end of the paper on the side of the pot near the top. Then, gently push on the flaps on the bottom, until they are a bit inverted.

There you go! A paper pot!

Next time I'll show you how we use them. Stay tuned, and thanks for reading!
2010 Update: I tried one of those cute little wooden paper pot-makers...and blogged about it here, if you're interested.

Comments
I just hope it's not too long before you post how to use them...or else you may get bugged with a phone call. Heehee!
Hugs!
Hug, GG
Can't wait to see more, Cat!