Dry your own cinnamon apples!
Dried apples are so tasty, especially sprinkled with a bit of ground cinnamon. Since we have a few apple trees, we make our own.
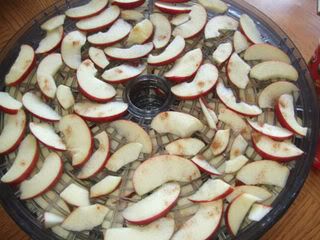
Every apple-eating varmint you can think of found our orchard this year. We had damage from birds, squirrels, ground squirrels, deer...maybe even raccoons. This meant lower yields, but also lots of 'nibbled' fruit. In a lot of cases, there was a perfectly good apple half, so that is most of what I'm drying...sliced up 'half apples'. Waste not, want not! The 'bad half' goes to the chicken yard with the cores, so there is no waste.
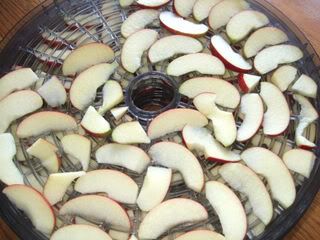
We leave the peels on - it adds fiber and nutrients, and since I dry them until they are crispy, the texture is the same as the flesh of the apple. It's pretty, too!
Here are some hand-cut slices on the dehydrating trays.
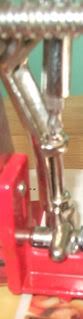
If your apples are whole, or mostly whole, you can use one of these. It makes preparation super fast!

To leave the peels on, use a screwdriver to remove the peeler attachment. This way, you just remove the core and slice, but you keep the nutrient-rich peel!
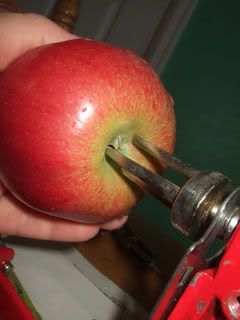
After all the apples are washed, cut off the yucky parts.
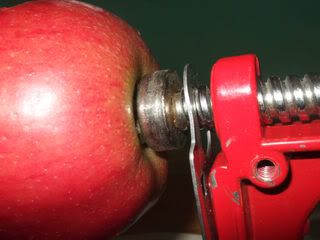
Push the blossom end of the apple onto the 3 prongs. Push it all the way on!
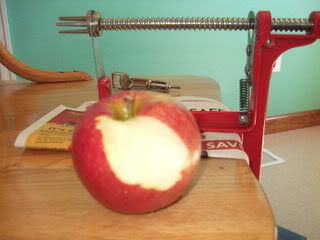
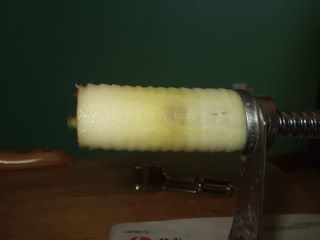
Turn, turn, turn the crank. Slip off the sliced apple (it's all one piece, at least usually!) This is the core (chickens LOVE these!)
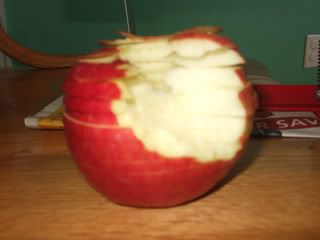
...and this is the apple! Use a paring knife to cut straight down through it on one side, just to the middle, and you'll have perfect rings!
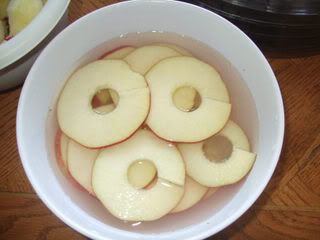
Put the rings in some water and lemon juice for a few minutes...
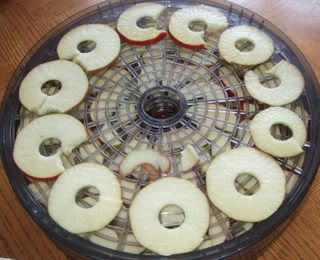
Then place them on dehydrating trays.
Time for the
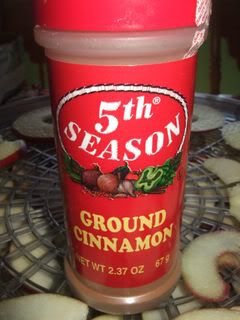
Keep the trays stacked while you sprinkle. That way, the cinnamon that misses the apples will fall down onto the next tray, and land on some of those apples.
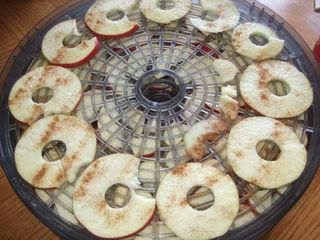
like this!
Keep rotating and sprinkling until they all have a light coat of cinnamon. Then, put on the lid, plug in your dehydrator (unless it's solar, of course!) and turn it on! In a few minutes, your house will smell like the inside of an apple pie!
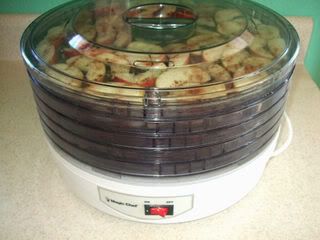
My dehydrator is NOT a fancy one - it's a cheapo that I've had for years and years. It has 'hot spots', so every 45 minutes or so, I turn all the trays a quarter turn. Also, in the interest of even drying, I take the bottom tray out and put it on the top once in a while too. Remember too that when they cool, they'll crisp up a little, so you can turn off the dehydrator when they feel 'almost done'.
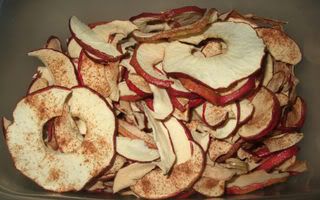
There you go! Dried apple chips. Put them in an airtight container once they are cool, and for the first week, keep them out where you will see them. Give them a little shake every day or so, and before you put them 'in storage' make sure they are still nice and crispy. If they aren't just put them back in the dehydrator for a little extra time. Sometimes, there will be an occasional wet spot that you miss...doing this extra step ensures you don't open up your apples in a month and find them moldy! Honestly, I've never had this problem, but better safe than sorry!
Every apple-eating varmint you can think of found our orchard this year. We had damage from birds, squirrels, ground squirrels, deer...maybe even raccoons. This meant lower yields, but also lots of 'nibbled' fruit. In a lot of cases, there was a perfectly good apple half, so that is most of what I'm drying...sliced up 'half apples'. Waste not, want not! The 'bad half' goes to the chicken yard with the cores, so there is no waste.
We leave the peels on - it adds fiber and nutrients, and since I dry them until they are crispy, the texture is the same as the flesh of the apple. It's pretty, too!
Here are some hand-cut slices on the dehydrating trays.

If your apples are whole, or mostly whole, you can use one of these. It makes preparation super fast!

To leave the peels on, use a screwdriver to remove the peeler attachment. This way, you just remove the core and slice, but you keep the nutrient-rich peel!

After all the apples are washed, cut off the yucky parts.

Push the blossom end of the apple onto the 3 prongs. Push it all the way on!


Turn, turn, turn the crank. Slip off the sliced apple (it's all one piece, at least usually!) This is the core (chickens LOVE these!)

...and this is the apple! Use a paring knife to cut straight down through it on one side, just to the middle, and you'll have perfect rings!

Put the rings in some water and lemon juice for a few minutes...

Then place them on dehydrating trays.

Time for the

Keep the trays stacked while you sprinkle. That way, the cinnamon that misses the apples will fall down onto the next tray, and land on some of those apples.

like this!

Keep rotating and sprinkling until they all have a light coat of cinnamon. Then, put on the lid, plug in your dehydrator (unless it's solar, of course!) and turn it on! In a few minutes, your house will smell like the inside of an apple pie!

My dehydrator is NOT a fancy one - it's a cheapo that I've had for years and years. It has 'hot spots', so every 45 minutes or so, I turn all the trays a quarter turn. Also, in the interest of even drying, I take the bottom tray out and put it on the top once in a while too. Remember too that when they cool, they'll crisp up a little, so you can turn off the dehydrator when they feel 'almost done'.

There you go! Dried apple chips. Put them in an airtight container once they are cool, and for the first week, keep them out where you will see them. Give them a little shake every day or so, and before you put them 'in storage' make sure they are still nice and crispy. If they aren't just put them back in the dehydrator for a little extra time. Sometimes, there will be an occasional wet spot that you miss...doing this extra step ensures you don't open up your apples in a month and find them moldy! Honestly, I've never had this problem, but better safe than sorry!

Comments
-homesteph